feat0

Kiriban 100k! - Results

We have finally reached the result! Have you already checked who won this last Kiriban? Enter and see it for yourself! Thanks everyone for all the votes and comments that I've received, I hope I can attend to everyone's expectations~

Read More
feat2

Like our Fan Page!

Have you already liked our Fan Page on Facebook? Go there and check for some news, updates and everything related! Go to Facebook

feat3

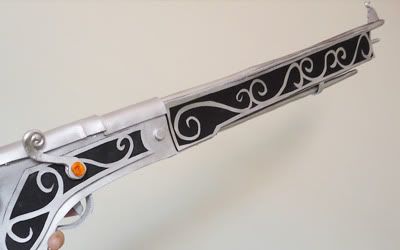
Rifles Tutorial

Check out the last Tutorial posted here~ Mami's rifles! have your ever wondered how to make your own prop? Check the tutorials area for more information on accessories, sewing and plushies!

Read More
feat4

Queen Esther's Photoshoot

Check out the newly added Queen Esther's Photoshoot session. Stay connected for more photos.

Read More

Tutorial: Cheap Scabbard

Before everything, just check this little diagram:


We will be doing the "bainha" (scabbard) part.


Materials you will need:

° A sword, to be put into this scabbard. (It will serve as your mold)
° Paperboard
° A fabric to cover it (I've used velvet)
° E.V.A
° White Glue
° Scissors

How to:


First you should draw over the paperboard using the sword you have. This shape should have more 3cm on each border, making it easy to put and draw your sword.

On the paperboard:

*in the image: Tip of the sword


You should cut 2 copies of this one. They will be the front and back parts of your sword.
For the borders, cut stripes of the EVA and glue it over the paperboard.


I've used stripes with 1cm.
Now I've cut the velvet using the paperboard as a mold and glued it using the white glue.


I've put the edges inward, like this:


 And now you may have two parts, the back and the front of the scabbard:


>Now just glue them together.


And for the best part... Decorate!


You may have this detail on the sides:


And here it is:


I hope it can be of use for someone.
Doubts? Just ask!

Currently have 0 comentários:


Leave a Reply